
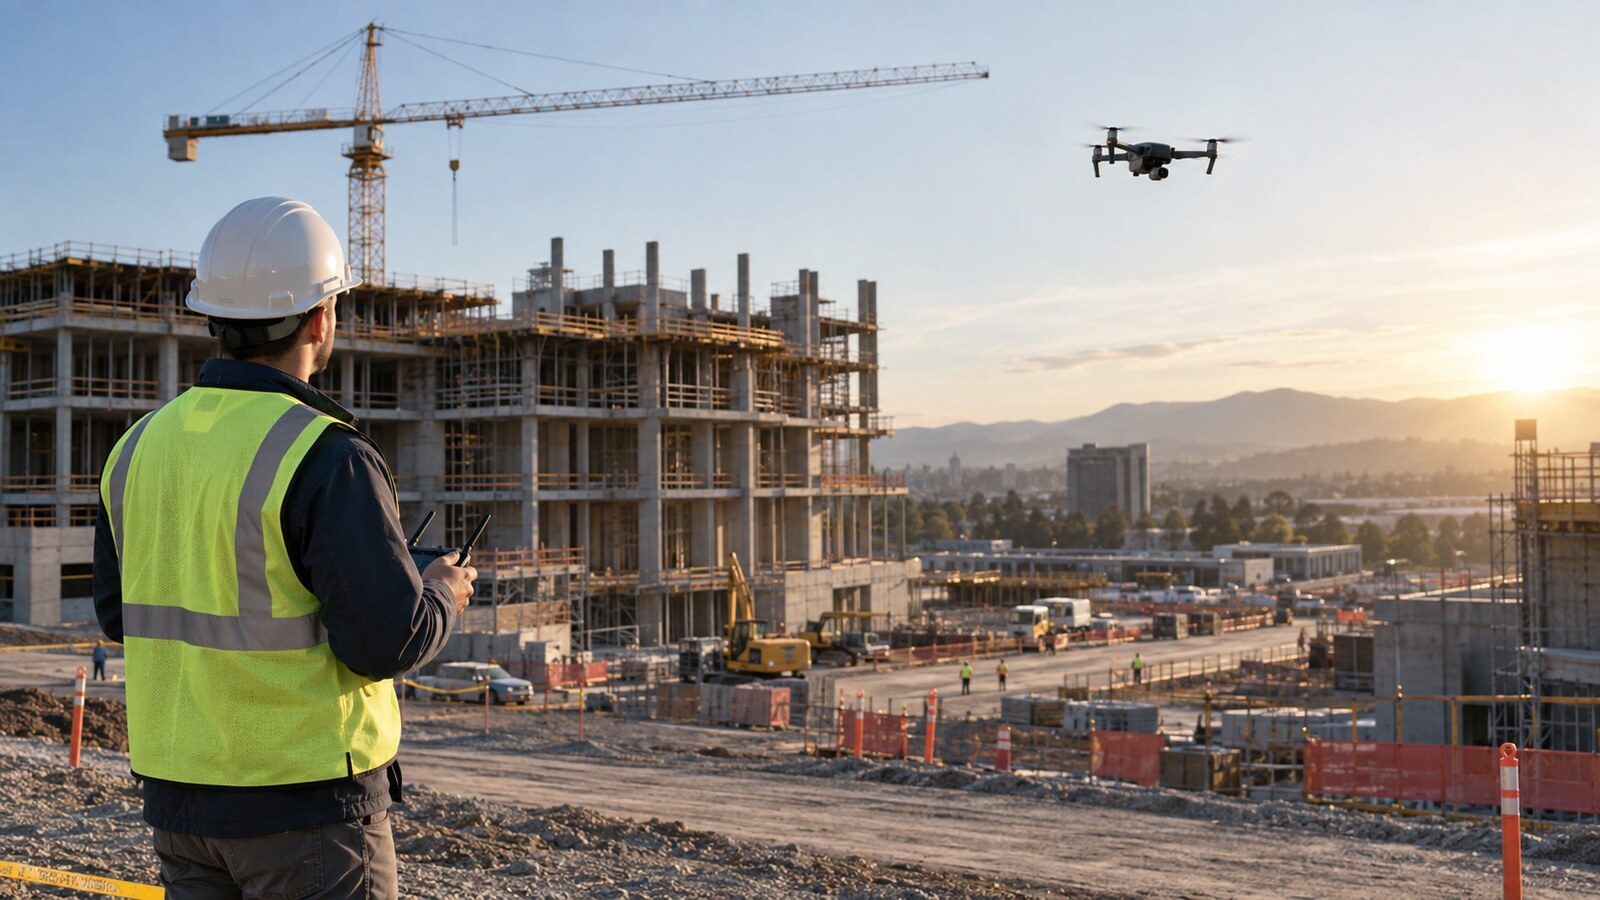
The practical takeaway: useful construction progress photography depends less on dramatic aerial views than on repeatability. Agree on what the client needs to track, establish fixed viewpoints and flight geometry, coordinate every visit with the site team, and deliver files that make one date easy to compare with another. A consistent series can document visible change; it does not by itself prove schedule compliance, quantities, workmanship or cause.
Define the decision before planning the flight
“Take progress photos” is not a complete scope. Ask who will use the images and what decision they need to make. An owner may want a monthly overview, a superintendent may need weekly documentation of site logistics, and a remote project manager may need evidence that specific exterior areas are accessible.
Translate that need into named deliverables: eight repeated oblique views, one nadir overview, selected detail images and a short change summary, for example. Identify the site boundary, structures, laydown areas, access roads and milestones that matter. Also define what is outside scope. Ordinary photographs are not automatically survey products, volumetric measurements or certified inspections.
Build a baseline that can actually be repeated
The first visit creates the reference for every later visit. Record each viewpoint’s latitude and longitude, altitude, aircraft heading, gimbal angle, camera mode, focal length or zoom setting, and intended subject. Save a simple site diagram showing launch area, flight path, viewpoint numbers and emergency landing options.
Use meaningful names such as “VP03-East-Elevation” instead of relying on the camera’s sequence number. If the aircraft supports saved missions, automation can improve consistency, but it does not eliminate the need to reassess the site before each flight. Cranes, new structures, power lines, temporary equipment and occupied work zones can change between visits.
Choose a compact, repeatable shot list
Context views
Capture wide oblique views from several sides of the project. These show the relationship between buildings, roads, staging areas and surrounding property. Keep the framing stable enough that a viewer can compare dates without mentally rotating the site.
Nadir overview
A straight-down image can make site layout and visible surface change easier to understand. A single photograph is not an orthomosaic and should not be described as dimensionally accurate. If the client needs measurements or mapping, use a validated photogrammetry workflow with suitable control and accuracy checks. The site’s LiDAR-versus-photogrammetry guide explains that separate decision.
Milestone details
Add targeted images only when they answer the stated need: roof areas, façade sections, drainage work, equipment pads or material staging. Preserve context by pairing a detail view with a wider locator image. Do not fly closer simply to make the picture impressive; select a safe position, appropriate lens and useful resolution.
Coordinate with the superintendent before every visit
An active construction site is dynamic. Confirm the flight window, current work zones, crane and lift activity, deliveries, blasting or concrete operations, personnel access and the person authorized to pause or relocate ground activity. Establish a launch area where the pilot can maintain control without blocking vehicles or becoming absorbed in the screen near moving equipment.
Brief the site contact on the route and duration, but preserve the remote pilot in command’s authority. Under 14 CFR §107.19, the RPIC is directly responsible for and is the final authority over the operation. A client schedule does not override a safety decision.
Recheck the operation, not just the camera
Before flight, evaluate airspace, weather, visibility, nearby aircraft activity, temporary restrictions, people, vehicles, cranes, wires, dust and electromagnetic or radio-frequency concerns. Section 107.49 requires the RPIC to assess the operating environment, local weather, airspace and flight restrictions, people and property on the surface, and other ground hazards. Section 107.15 also requires a preflight check that the small UAS is in a condition for safe operation.
Maintain visual line of sight as required by §107.31. Structures and cranes can hide an aircraft sooner than a two-dimensional site plan suggests. A trained visual observer may improve awareness, but the crew must communicate effectively and the operation must still comply with the rule. See the site’s visual-observer guide for a practical briefing structure.
Treat people and vehicles as moving constraints
Construction workers who are not directly participating in the drone operation do not become participants merely because they attended a general safety meeting or know a flight is occurring. Under §107.39, operations over human beings must fit one of the rule’s permitted conditions or operational categories.
Design the route to avoid exposing people, use the site team to manage access where appropriate, and stop when the controlled area changes. Moving vehicles require separate attention under the applicable operations-over-people provisions. Never assume high-visibility clothing, a hard hat or a client waiver makes an otherwise prohibited flight lawful.
Control the variables that make comparisons useful
Perfect duplication is rarely possible, but uncontrolled differences can look like project change. Aim for similar time of day, sun direction and weather. Keep aspect ratio, exposure approach, white balance and camera profile consistent. Avoid switching between wide and digital zoom without recording the change.
Wind may move the aircraft away from its saved position, and construction can remove the visual landmarks used on the first visit. Compare the live frame with the baseline image before moving to the next viewpoint. If the original location is no longer safe or legal, document the revised position instead of forcing the shot.
Use a file structure that survives the project
Organize files by project, capture date and viewpoint. A practical pattern is:
Project_Name/
  2026-09-16/
    Originals/
    Selected/
    Report/
  Viewpoint_Register.csv
Retain originals according to the contract and preserve metadata when it matters. Name selected images consistently, such as 2026-09-16_VP03_East-Elevation.jpg. Maintain a viewpoint register containing coordinates, altitude reference, heading, gimbal angle and notes about unavoidable changes. Back up the files before deleting anything from a card.
Deliver comparison, not a folder dump
A client-ready package should reduce the work required to understand the site. Include a one-page summary with capture date, weather limitations, areas covered, areas not captured and important deviations from the baseline. Pair current and prior images from the same viewpoint. A simple labeled contact sheet is often more useful than hundreds of unlabeled files.
Describe only what is visible: “roof membrane installation is visible on the north section” is defensible. “Roof work is 70 percent complete and on schedule” requires an agreed measurement method and project controls beyond an ordinary photograph. Flag apparent anomalies for review without diagnosing workmanship, damage or causation.
Set acceptance criteria in the proposal
Define visit frequency, required notice, number of viewpoints, image format, resolution, delivery method, turnaround, retention period and weather or access rescheduling. State whether editing is limited to normal color and exposure correction. If the client expects annotations, measurements, 3D models or a hosted timeline, price and define those separately.
Address who may use the imagery, whether subcontractors appear, and how sensitive plans or site details will be protected. The site’s inspection-job quoting guide can help turn those expectations into scope, exclusions and reflight terms.
A nine-step repeatable workflow
- Identify the client decision and define the deliverable.
- Create a numbered baseline viewpoint register.
- Record position, altitude, heading, gimbal angle and camera settings.
- Coordinate the flight window and changing hazards with the site lead.
- Complete current airspace, weather, people and equipment checks.
- Capture context, overview and agreed milestone details.
- Compare frames with the baseline while still onsite.
- Back up, rename and organize originals and selected files.
- Deliver side-by-side comparisons with limitations and deviations noted.
The bottom line
The commercial value of construction progress photography comes from a reliable record, not a collection of attractive aerial images. Build the first visit as a repeatable baseline, reassess safety every time the site changes, and make the deliverable easy to compare. When a viewpoint cannot be repeated safely, document the change. Consistency matters—but safe, lawful operation comes first.
This article provides general educational information. It is not legal, surveying, engineering, construction-management or safety-program advice. The RPIC and site team must evaluate the actual operation, contract and applicable rules.