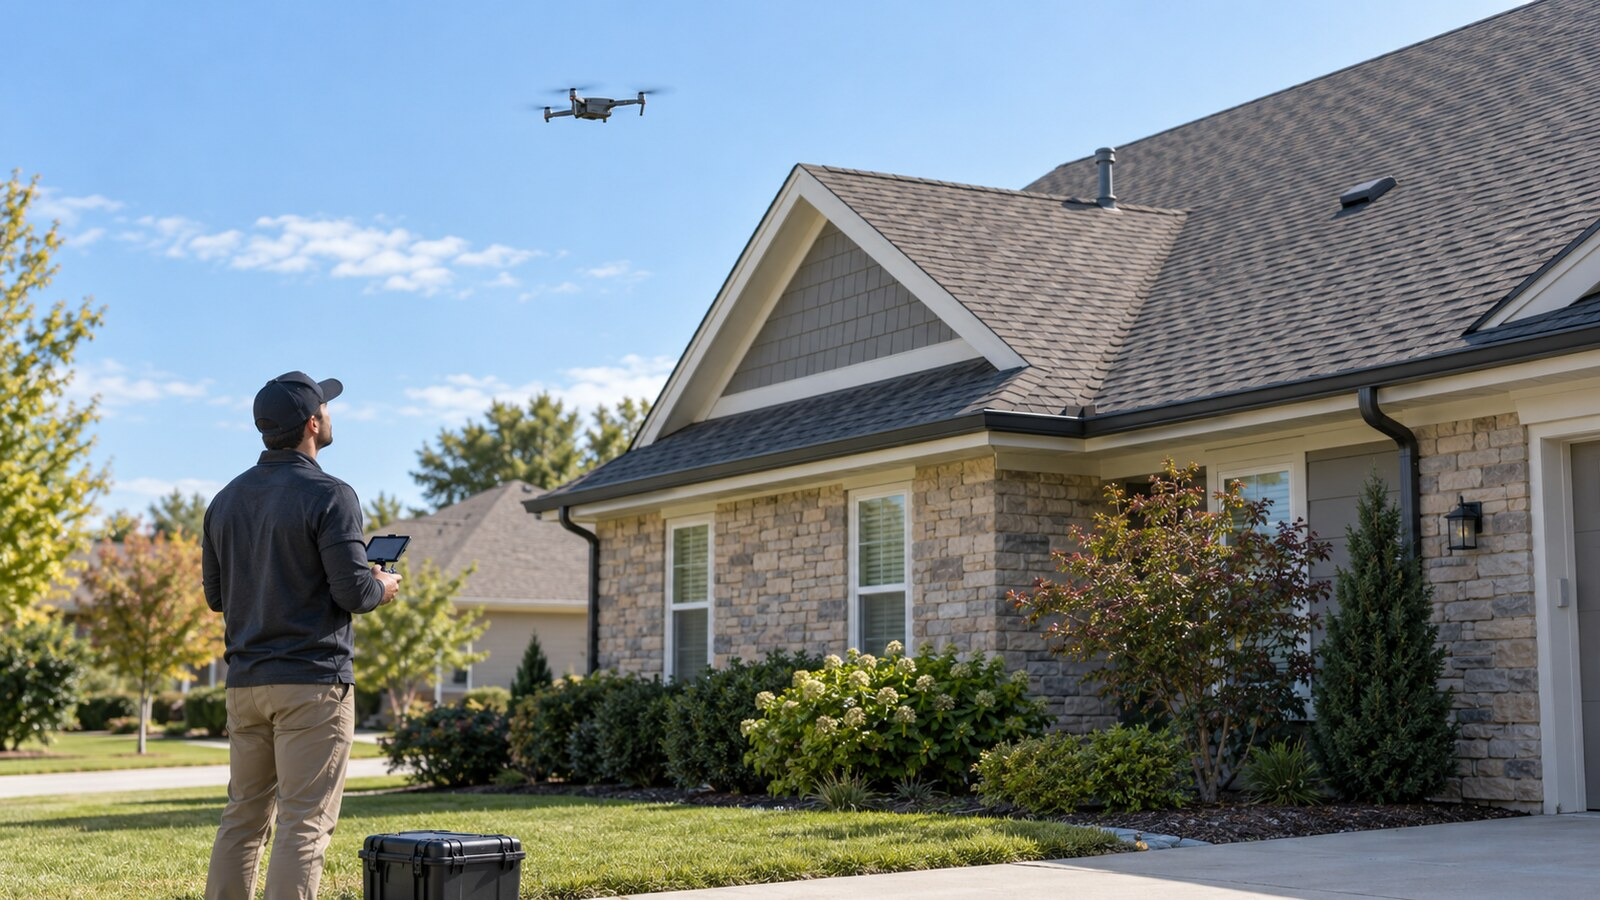
A good drone roof inspection is not just a flight around a building. It is a repeatable evidence-gathering process: define the client’s question, plan a safe route, capture every roof plane consistently, label what the images show, and deliver a report that another professional can understand. The drone reduces exposure to ladders and fragile surfaces, but the remote pilot still needs disciplined aviation planning and should never present imagery as an engineering, insurance, or roofing conclusion they are not qualified to make.
Start with the decision the client needs to make
Before discussing aircraft or camera settings, ask why the inspection is being requested. A roofer preparing an estimate, a property manager documenting storm conditions, an insurer triaging claims, and a homeowner checking maintenance needs all require different evidence.
Define the property, roof type, areas of concern, expected deliverable, turnaround time, access limitations, and who may rely on the report. Ask whether the client wants general condition imagery, measurements, suspected-damage documentation, thermal data, or a record for comparison after repairs. If measurements or formal conclusions matter, state the expected accuracy and identify who is qualified to interpret the evidence.
The safest scope describes what you will collect without promising a diagnosis. “High-resolution overview and detail images of accessible roof surfaces and visible exterior features” is more defensible than “complete damage assessment” when the pilot is not acting as a licensed roofer, engineer, or insurance adjuster.
Turn the scope into a written flight and capture plan
Review the address before arriving. Check controlled airspace, airport proximity, Temporary Flight Restrictions, local takeoff-and-landing restrictions, obstacles, nearby schools, roads, utilities, trees, and likely pedestrian activity. The FAA’s airspace-restrictions guidance is a useful starting point, but a saved screenshot or sectional chart is not a current briefing. Recheck applicable operational sources on the day of flight.
Plan the launch area, pilot position, emergency landing area, maximum working altitude, flight direction, and battery sequence. Decide whether glare, roof pitch, chimneys, dormers, trees, or poor sight lines justify a visual observer. Our guide to choosing an inspection drone explains why the deliverable should drive the equipment decision.
Create a shot list before takeoff. A practical residential sequence includes all four elevations, wide oblique views of each roof plane, straight-down coverage where safe and useful, ridges, valleys, eaves, flashing, penetrations, gutters, drainage paths, and close detail images of each visible anomaly. Numbering roof planes on a simple sketch makes later file organization much easier.
Control the site before starting the motors
On arrival, walk the site from the ground. Confirm the address and client contact, look for wires and branches that satellite imagery missed, and note pets, children, workers, vehicles, neighboring properties, loose debris, reflective surfaces, and active emergency work. Identify a stable launch point where the pilot can maintain visual line of sight.
The remote pilot in command remains directly responsible for and the final authority over the operation under 14 CFR §107.19. Establish boundaries with the client before flight: people should remain clear of the operating area, nobody should walk onto the roof for the drone’s benefit, and the pilot may pause or stop when conditions change.
Operations over people must comply with 14 CFR §107.39 and any applicable requirements in Part 107 subpart D. Do not assume a short hover above a worker, driveway, or sidewalk is acceptable merely because the inspection will be quick.
Use a preflight that protects both the aircraft and the evidence
Inspect the aircraft, propellers, batteries, controller, camera, memory card, firmware state, Remote ID status when required, and return-to-home settings. Section 107.15 requires the remote pilot to determine before each flight that the small UAS is in a condition for safe operation. Confirm home-point behavior and set a return altitude that accounts for local obstacles without creating an unnecessary climb.
Then configure the camera for consistency. Use sufficient shutter speed to control motion blur, keep ISO as low as conditions reasonably allow, verify focus, and avoid aggressive digital zoom. Automatic exposure may be useful when moving between bright and shaded roof planes, but watch for clipped highlights on metal flashing and deep shadows near dormers. Capture test images and enlarge them on the controller before beginning the sequence.
Thermal inspections require a separate method. Roof temperature patterns can be influenced by solar loading, moisture, insulation, wind, roof material, time of day, HVAC equipment, and reflections. Thermal imagery can identify areas worth investigating, but it does not by itself prove moisture intrusion or a specific defect.
Capture the roof systematically, not opportunistically
Begin with orientation images that show the entire property and establish where later details belong. Then work around the structure in a predictable direction. Photograph each elevation and roof plane with deliberate overlap before moving to close details. This “wide, medium, detail” pattern gives the reviewer context instead of a folder full of disconnected close-ups.
- Wide: show the whole roof plane and its relationship to the building.
- Medium: isolate a ridge, valley, penetration, drainage area, or roof section.
- Detail: show the visible condition at the highest safe, sharp resolution.
Maintain enough standoff distance to preserve control and avoid prop wash disturbing loose material. Obstacle sensing is an aid, not permission to fly close to wires, branches, walls, or roof hardware. Slow down before changing direction near the structure, and avoid backing the aircraft toward obstacles while concentrating on the camera view.
For every suspected issue, capture at least one contextual image and one detail image. Do not rely on a single frame when lighting or viewing angle may create ambiguity. If a surface cannot be seen safely, record the limitation instead of forcing the aircraft into a blind or unstable position.
Document observations without making unsupported conclusions
After landing, back up the files before editing or renaming them. Preserve originals, then organize working copies by property, date, roof plane, and sequence. A simple naming convention such as north-slope_ridge_detail_01 is more useful to a client than the camera’s default filename.
Use neutral observation language. Write “three lifted shingle tabs visible near the east valley” rather than “wind damage confirmed.” Write “dark thermal pattern observed near the north penetration” rather than “active leak.” The image may support a qualified professional’s conclusion, but the pilot should distinguish what the sensor recorded from the reason it occurred.
Keep an exception log for incomplete coverage, poor lighting, inaccessible angles, heavy vegetation, active workers, weather changes, lost visibility, or equipment problems. A candid limitation increases trust and gives the client a clear basis for deciding whether a follow-up inspection is needed.
Build a report that answers the original question
A useful roof-inspection report does not need elaborate design. It needs a clear property identifier, inspection date, scope, equipment used, weather and access conditions, roof-orientation diagram, representative overview images, numbered observations, image references, limitations, and recommended next step.
Separate the deliverables into three layers:
- Executive summary: what was inspected, what was not, and the major visible observations.
- Annotated findings: one observation per item, with location, wide image, detail image, and neutral description.
- Original files: organized images supplied through an agreed transfer method.
End with an appropriate action, such as review by a qualified roofing contractor, engineer, building professional, or insurer. Do not imply that a drone-only inspection replaces a hands-on assessment where contact testing, material sampling, fastener inspection, interior investigation, or code evaluation is required.
Price the workflow, not the flight time
The aircraft may be airborne for only twenty minutes, but the client is buying planning, safe execution, complete coverage, file management, interpretation boundaries, reporting, insurance, travel, and professional responsibility. Quote the defined deliverable and expected site complexity rather than charging only for minutes in the air.
Our guides to quoting a first inspection job and commercial drone pricing explain how to include preparation and post-processing instead of giving that work away.
A field-ready roof inspection checklist
- Confirm the client’s decision, scope, property, permission, deliverable, and deadline.
- Check airspace, restrictions, weather, sun angle, obstacles, and pedestrian exposure.
- Prepare a roof-plane sketch, shot list, battery plan, and stop-work conditions.
- Walk the site and establish launch, pilot, observer, and emergency landing positions.
- Inspect the UAS and verify camera focus, exposure, storage, and return settings.
- Capture orientation images, then wide, medium, and detail views systematically.
- Record limitations and recheck coverage before leaving the property.
- Back up originals, organize files, use neutral descriptions, and assemble the report.
- Recommend qualified follow-up where imagery cannot establish the cause or severity.
The bottom line
A professional drone roof inspection succeeds when the client can trace every observation back to a location and image—and understand what the evidence can and cannot establish. Build the operation around a repeatable capture plan, conservative flight decisions, neutral documentation, and a report tied to the client’s next action. That process is more valuable than simply getting the drone close to the shingles.
Reviewed September 5, 2026. This article provides general operational guidance, not roofing, engineering, legal, surveying, or insurance advice. Pilots should verify current FAA requirements, local rules, site conditions, and professional-licensing limits before accepting work.