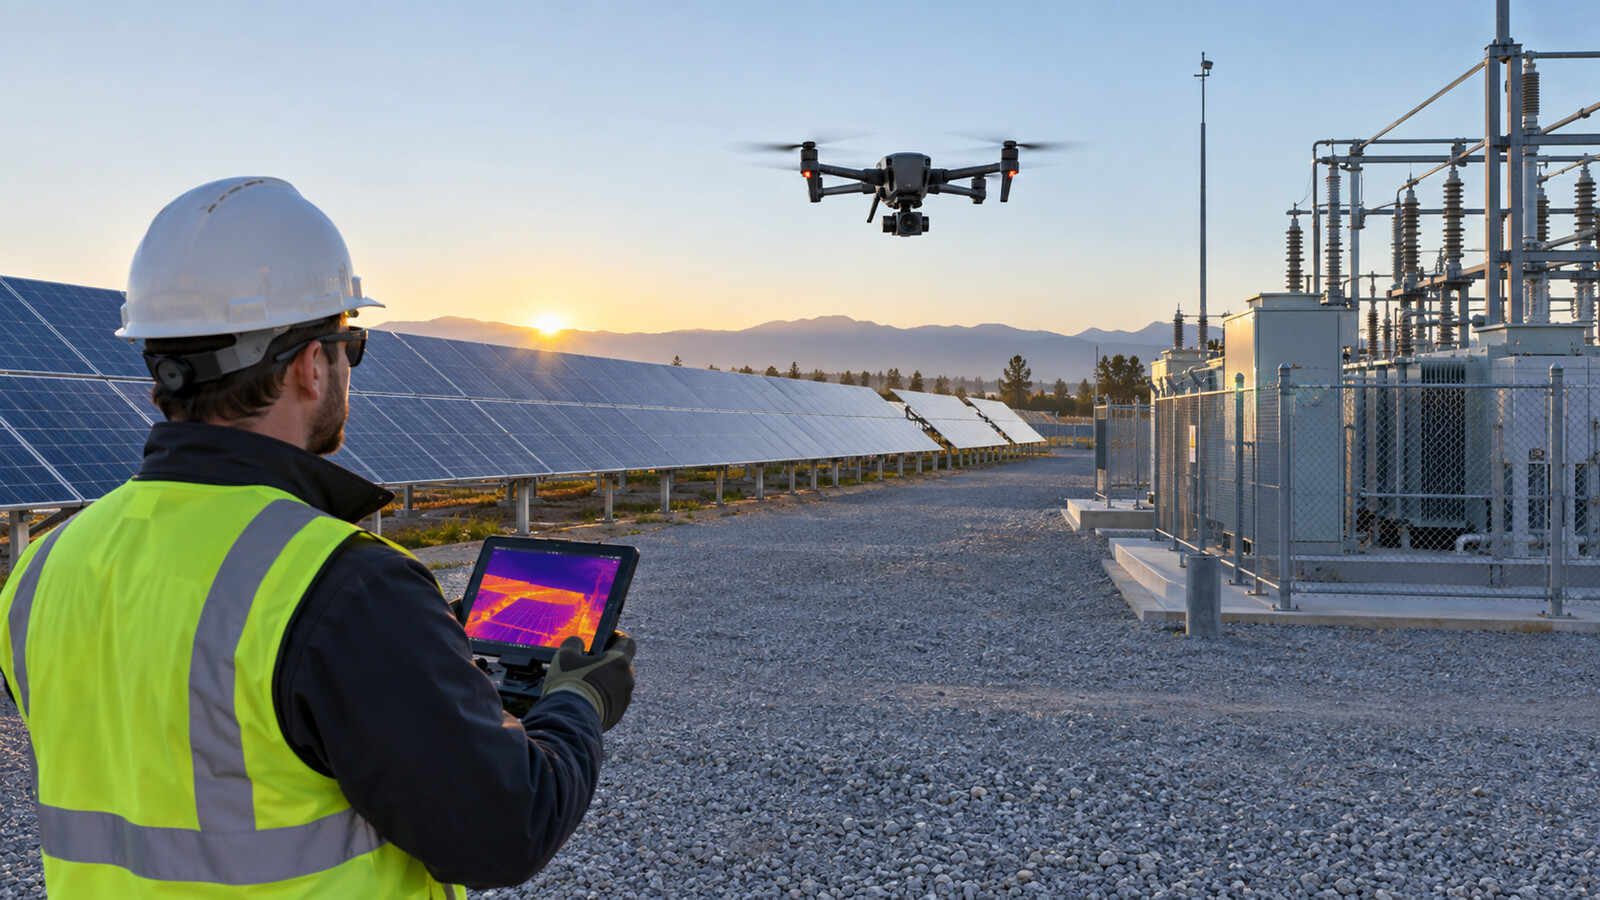
The practical takeaway: a useful thermal drone inspection is not simply a colorful flight over an asset. The pilot must define the client’s question, control the capture conditions, collect matching visible and thermal images, and report anomalies without turning them into unsupported diagnoses. For newer operators, the safest starting point is a repeatable qualitative survey—finding patterns that deserve closer examination—while leaving precise temperature measurement and defect confirmation to a properly designed thermography program and qualified specialists.
What a thermal camera actually shows
A thermal camera detects infrared radiation reaching its sensor and converts that signal into an image. The colors are a palette applied by the camera or software; red does not automatically mean “dangerous,” and blue does not automatically mean “safe.” The image primarily represents apparent surface-temperature patterns, not the inside of a roof, panel, transformer or wall.
That distinction matters because a bright or dark area can have several causes. It may reflect a real temperature difference, a change in material, a reflection from the sky or sun, moisture-related evaporative cooling, shadow, wind, surface contamination, or an incorrect camera setting. Thermal imagery can efficiently point to an anomaly. It rarely proves the anomaly’s cause by itself.
Choose qualitative or quantitative work before takeoff
A qualitative inspection compares patterns. The operator looks for one solar module, roof area or electrical component that appears different from similar assets under similar conditions. The deliverable identifies and locates the pattern, preserves context and recommends an appropriate follow-up.
A quantitative inspection attempts to report defensible temperature values or temperature differences. That requires much tighter control: a radiometric camera, correct emissivity and reflected-temperature inputs, known distance and environmental conditions, suitable focus, enough pixels on the target, and a documented method. Client specifications or industry procedures may add requirements for asset load, viewing angle and inspector qualification.
If the contract asks whether equipment is “overheating,” whether a roof “contains moisture,” or whether a component “will fail,” stop and define what evidence the client expects. A drone operator should not quietly convert an anomaly survey into an engineering, electrical, roofing or diagnostic conclusion.
Control the variables that can mislead you
Emissivity and reflected energy
Emissivity describes how effectively a surface emits infrared energy. According to FLIR’s thermography guidance, shiny, low-emissivity metal can behave like a thermal mirror, making reflected energy more influential than the target’s own emission. Oxidation, paint, finish and surface condition can change emissivity even when the underlying material is the same.
For pattern-finding, note reflective surfaces and compare like with like. For temperature measurement, do not copy a generic emissivity value into the camera and assume the result is accurate. Record how the value was selected and how reflected apparent temperature was addressed.
Sun, clouds, wind and recent weather
Solar loading can create useful contrast in some inspections and false patterns in others. A passing cloud can rapidly change surface heating. Wind can cool an exposed target and reduce a thermal difference. Rain, standing water and recent precipitation can alter roof or ground patterns. Reflections from the sun and cold sky can move or disappear when the viewing angle changes.
Record conditions at the beginning and end of the mission, and whenever they change materially. If repeatability matters, define an acceptable weather window instead of hoping every flight will be comparable.
Distance, angle and focus
A target that occupies only a few pixels may be visible but not measurable. Flying farther away increases coverage while reducing spatial detail. An oblique angle can introduce reflections and make one section appear different from another. Autofocus may not recover a soft sequence after capture, especially when the aircraft is moving or the scene lacks contrast.
Plan a repeatable altitude, speed, gimbal angle and stand-off distance. Pause or slow for critical details, confirm focus on the target plane, and avoid digital zoom as a substitute for sufficient native detail.
Plan the mission around the decision
Start with one sentence: “The client needs to decide whether…” That sentence determines the assets to cover, the evidence required and the limits of the report. Obtain an asset map or identifiers, define the inspection boundary, identify energized or access-controlled areas, and agree on how anomalies will be numbered.
- Confirm whether the work is an overview, baseline, comparison or investigation.
- Define the required ground detail and whether radiometric files must be delivered.
- Set weather, load and operational windows with the asset owner.
- Plan visible-light context images for every reported thermal finding.
- Establish how urgent findings will be communicated without diagnosing them.
Teams selecting inspection equipment should review what drone an inspection business actually needs. Camera choice follows the deliverable—not the other way around.
Build a safe, repeatable flight plan
A thermal payload does not reduce the remote pilot in command’s responsibilities. Under 14 CFR §107.15, the aircraft must be in a condition for safe operation. Section 107.19 makes the RPIC directly responsible and the final authority for the operation. Flights near workers also require an operating plan consistent with the applicable rules for operations over people.
Walk the site with the asset owner when practical. Identify wires, poles, cranes, steam, electromagnetic-interference concerns, moving vehicles, restricted access and emergency landing areas. Maintain safe separation from energized equipment and follow the owner’s electrical-safety and site-control procedures. A camera view is not a substitute for maintaining visual line of sight or scanning the surrounding airspace.
Create a simple route: overview pass, systematic coverage pass, then targeted detail images if conditions permit. Use the same direction, overlap and camera settings across comparable assets. A slower, deliberate mission usually produces more useful evidence than a fast flight with hundreds of inconsistent images.
Capture thermal and visible evidence as a pair
Thermal imagery shows a pattern; visible imagery helps the reviewer identify what produced it. For every potential finding, capture or preserve:
- A wide image establishing the asset and location.
- A medium view showing the component in context.
- A detailed thermal image with the target large enough to assess.
- A matching visible image from a similar angle.
- Asset ID, time, flight position and relevant camera settings.
- Weather, recent precipitation and known operating-load information.
Keep the original radiometric files when the camera supports them. A screenshot or colorized JPEG may look good in a report but can discard measurement data and settings needed for later review. Do not change palettes or temperature spans merely to make one finding appear more dramatic. If settings differ between images, say so.
Use comparisons that survive scrutiny
The strongest first comparison is usually a target against a genuinely similar target: adjacent solar modules of the same type, equivalent electrical connections under similar load, or roof areas with similar construction and solar exposure. Avoid comparing unlike materials, sunlit and shaded surfaces, or components operating under different loads without explaining the difference.
When a suspicious pattern appears, change the viewing angle. A reflection often moves or changes; a real surface pattern may remain associated with the component. Revisit the target after other passes, capture a visible reference and record uncertainty. “Thermal anomaly observed” is often a stronger statement than “failed component” when confirmation lies outside the inspection scope.
Write a defensible client report
A useful report allows someone who was not at the flight to locate the finding, understand the conditions and choose the next action. Begin with the client’s question, scope, equipment, date and time, environmental conditions, limitations and inspection method. Then give each finding a stable identifier.
For each anomaly, include asset/location, paired thermal and visible images, observed pattern, relevant settings, comparison basis, confidence or limitation, and recommended follow-up. Use neutral language such as “elevated apparent surface temperature relative to adjacent comparable components.” If a qualified thermographer or engineer has not confirmed the cause, do not write “loose connection,” “active leak” or “defective module” as a fact.
Separate observations from interpretations and client-provided facts. For example: “The client reported the circuit was operating at approximately 70% load” is not your measurement. Similarly, a software-generated severity label is an aid, not independent proof. Retain source files and an audit trail showing who reviewed and changed the report.
A practical field checklist
- Define the client decision and whether the survey is qualitative or quantitative.
- Confirm site permission, Part 107 compliance, hazards and access controls.
- Document asset condition, load, weather and recent precipitation.
- Set and record palette, span, emissivity, reflected temperature and distance as applicable.
- Verify focus and target size before beginning systematic coverage.
- Use consistent route geometry and capture matching visible images.
- Recheck anomalies from another angle and against comparable assets.
- Preserve original files, metadata and a clear chain from image to asset.
- Report observations, limitations and recommended follow-up without overstating causation.
The business lesson: sell a decision-ready process
Clients are not buying false-color pictures; they are buying better information about where to investigate, maintain or monitor. Scope the deliverable before quoting, allow time for data review and reporting, and price specialist interpretation separately when required. The site’s commercial drone pricing guide can help turn the field plan into a realistic estimate.
The most credible operator is not the one who labels every warm area a defect. It is the one who can reproduce the capture, explain the limitations and hand the client evidence that supports an appropriate next step.
Sources and disclosure
Primary references include the current 14 CFR Part 107 operating rules and FLIR’s technical explanation of emissivity and reflected temperature. Manufacturer guidance is identified as such. This article contains no affiliate links, makes no hands-on testing claim and is educational rather than engineering, electrical or roofing advice.